Edit text and change fonts in Phoenix Code
To change the words on a website, edit its HTML. To change how those words look, change their CSS styles. Phoenix Pro lets you do both visually in Live Preview; Community (free) lets you edit the code beside the preview.
In this guide, you'll change a heading to “Plan your next walk.”, set its font to Arial, and set its font size to 40 pixels.
Want to change the font of the code editor itself? Use View → Themes → Font Family instead. That setting does not change your website.
1. Open the practice website
- Download the practice website.
- Extract the ZIP. On Windows, right-click it and choose Extract All. On macOS, double-click it. On Linux, use your file manager's Extract option.
- In Phoenix Code, click the folder with a plus at the top left. Choose Open Folder… and select the extracted
first-websitefolder. - Double-click
index.htmlin the file list. If Live Preview is closed, click the lightning bolt on the right. - If asked, choose Trust & Execute Preview for this practice project.
Look for the Trail Notes website and its large “A little time outside.” heading. This is the same project used in the image and page-link tutorials.
Use the desktop app or the web app in Chrome or Edge to open a local folder. See Open Folder if you need help.
2. Change the heading and its font
Choose your edition below. If you want to try both methods, use a fresh copy of the practice project for each: Pro's inline font settings take priority over the Community stylesheet settings.
Click any screenshot to open it at full size.
- Phoenix Pro
- Community (free)
Edit the words
- Click the maximize icon in the preview toolbar to enter Design Mode. The preview fills the workspace.
- Click the pen button if it is gray. An orange pen means Edit Mode is on.
- Double-click “A little time outside.” in the preview. You can now type inside that heading.
- Select the words and replace them with “Plan your next walk.” Press Enter to apply the text. Press Esc instead if you want to cancel an unfinished edit.
- Keep
index.htmlselected in Working Files. Click the floppy-disk icon beside the file list to Save File.
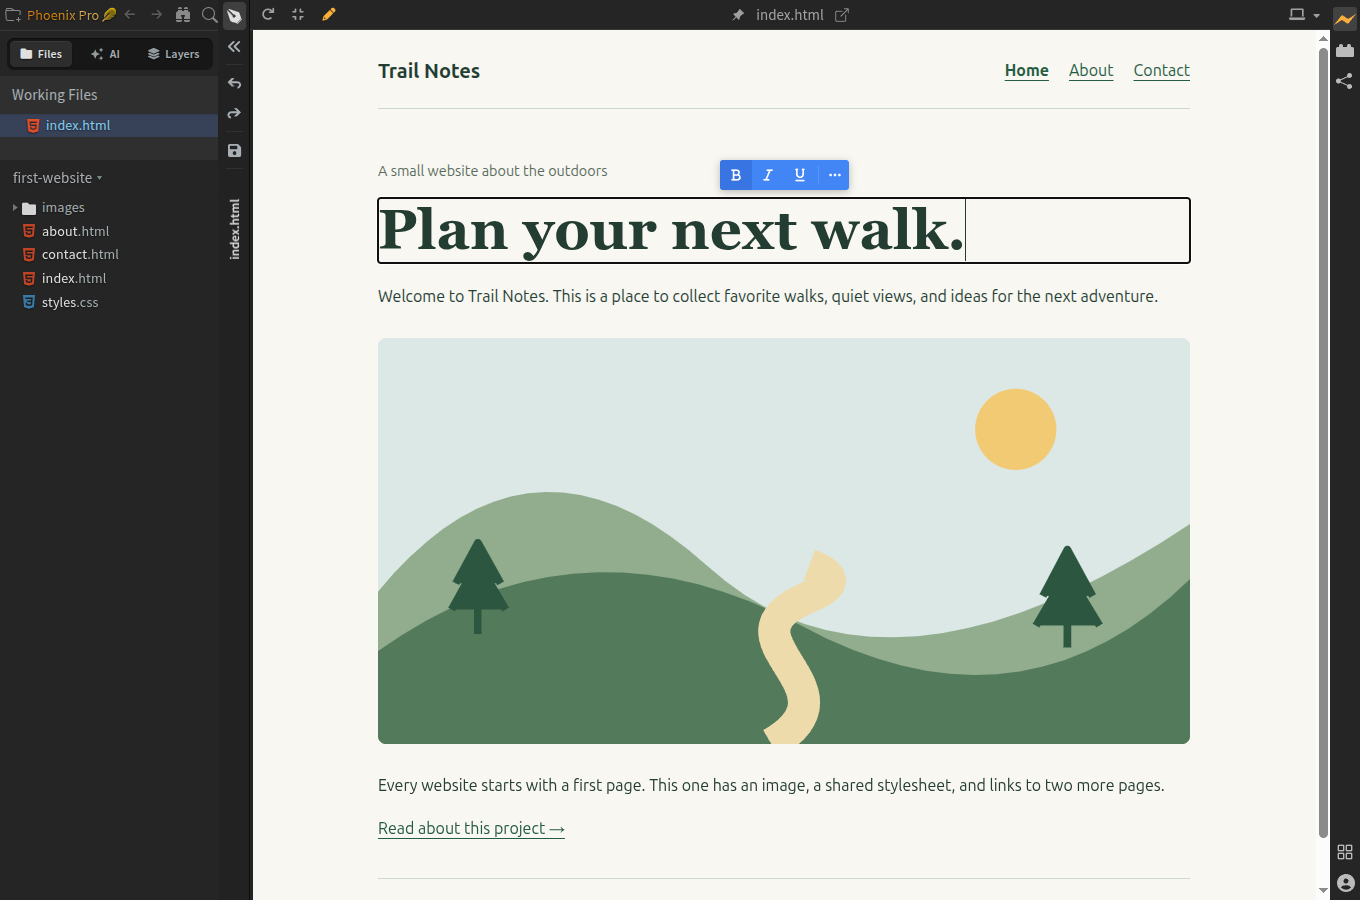
Use Shift+Enter for a line break while editing text. Changing the words here updates the HTML; changing the font is a separate step below.
Choose the font and size
- Click the heading once to select the whole element. The Styles Bar appears at the bottom of the preview.
- Keep Save changes to set to Inline, the default. This applies the font settings to this heading in
index.html. - Click the current font name, Georgia, in the Styles Bar. Its tooltip is Font family. In the font picker, choose System, then Arial.
- Close the picker with its X (Done). Click the font-size control beside the font name. Enter 40, leave the unit as px, and press Enter. If a different unit is shown, click the unit button until it reads px, then enter 40.
- Close the size control with its X. After the heading updates, click the floppy-disk icon to save
index.htmlagain.
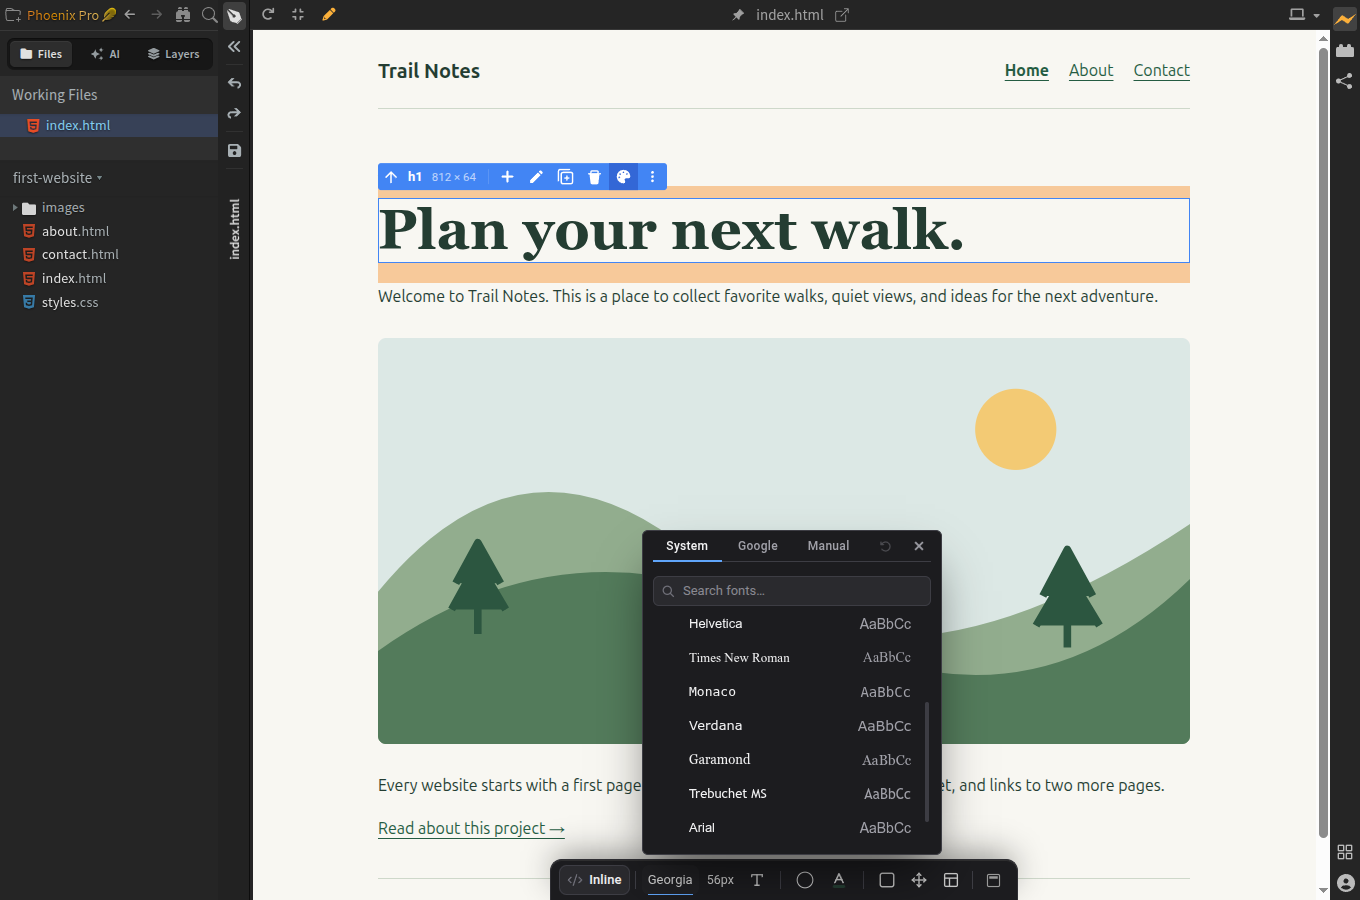
The font picker also has Google and Manual tabs. Use Google to choose a Google Font, or Manual to enter a font name or upload your own font file. See Font Family for those options.
For a font change that should affect several elements, use Save changes to to choose a matching CSS rule before making the change. Check the number of affected elements shown beside the rule. See Save Changes To.
Find and edit the words
- Keep the code editor and Live Preview side by side. If the editor is hidden, click the restore icon in the preview toolbar.
- Click the small down arrow beside the pen in the preview toolbar. Choose Highlight Mode.
- Click “A little time outside.” in the preview. Phoenix Code moves to its
<h1>element inindex.html. - In the code editor, replace that whole
<h1>...</h1>line with this:
<h1>Plan your next walk.</h1>
- Save with Ctrl+S on Windows/Linux or Cmd+S on macOS. Check that the preview shows the new heading.
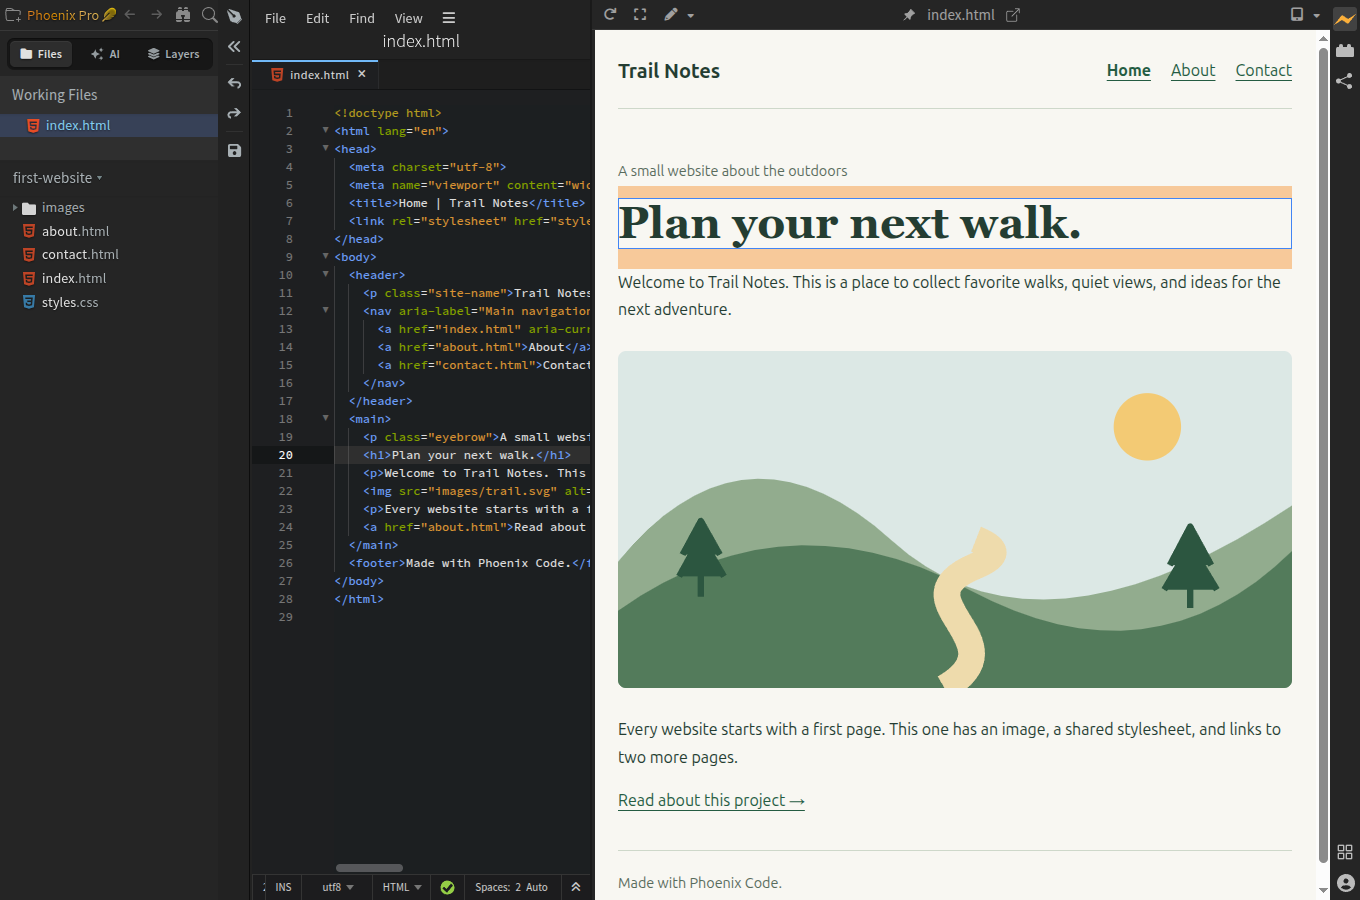
Keep both the opening <h1> and closing </h1> tags. The words between them are the text visitors see. You can use the same approach for a paragraph between <p> and </p>.
Change the font in CSS
- Open
styles.cssfrom the file list. - Find the
h1rule. It already containsfont-family: Georgia, serif;and afont-sizeline usingclamp(...). - Replace those two lines with the highlighted lines below. Keep the existing
marginandline-heightlines, and both braces:
h1 {
  margin: 12px 0 20px;
  font-family: Arial, sans-serif;
  font-size: 40px;
  line-height: 1.15;
}
- Save
styles.csswith Ctrl+S or Cmd+S. Check that the heading in Live Preview changes its appearance.
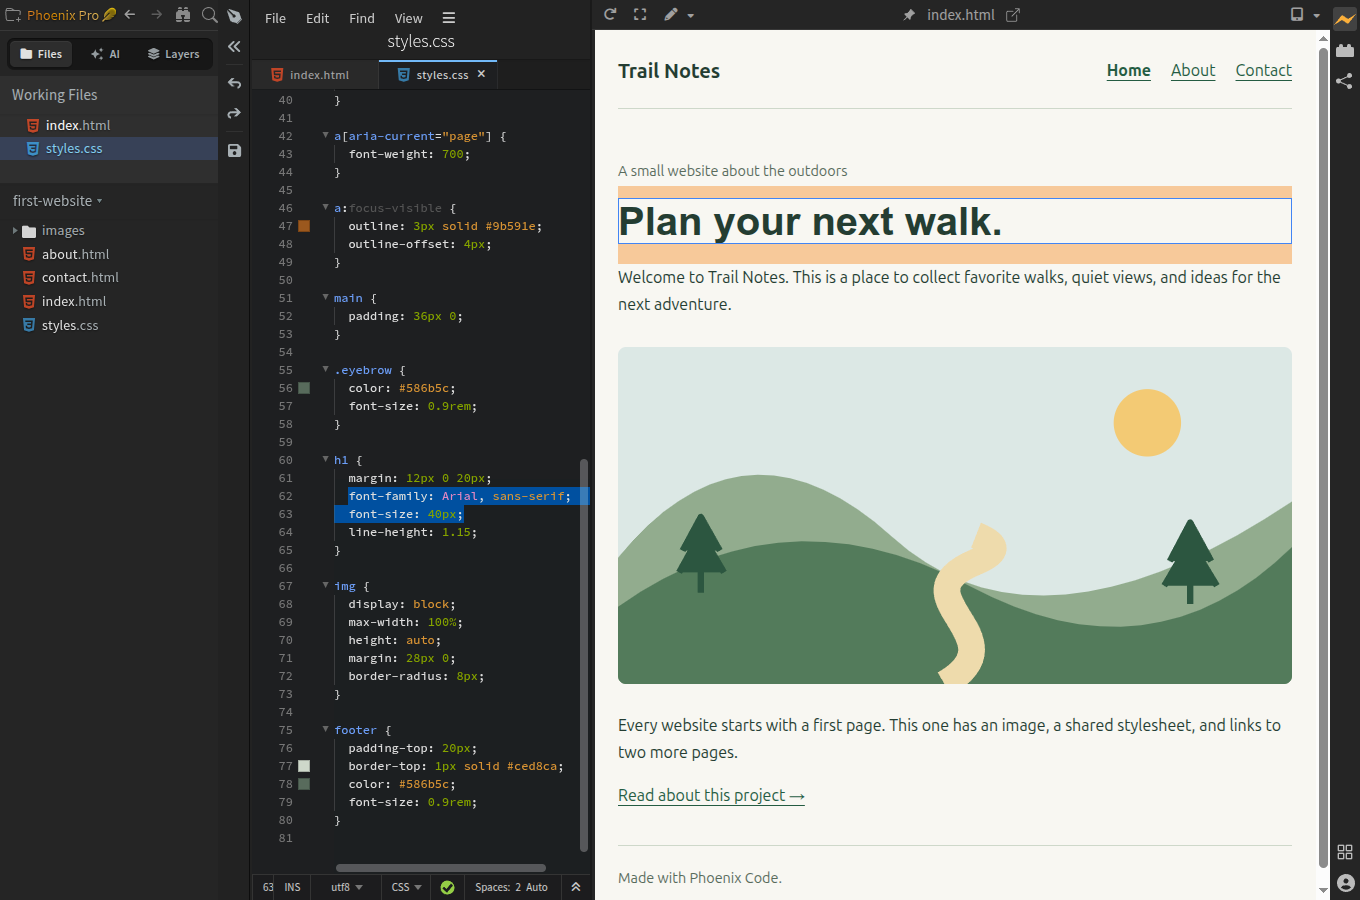
Arial is the first font choice; sans-serif is the fallback if Arial is unavailable. 40px sets the font size to 40 pixels. This rule affects every <h1> on a page that loads this stylesheet, including the practice site's About and Contact pages.
3. Check the result
In Pro, turn off the pen button to see the page without editing outlines. In Community, choose Preview Mode from the arrow beside the pen.
- The heading should read “Plan your next walk.” The paragraph below it should keep its original text and font.
- Try a narrow preview: open All device sizes, the down arrow beside the device icon, and choose iPhone 14 (390px) or another phone width. The heading may wrap onto another line; it should not run off the page. Choose Fit to screen to return to the wider view.
- Use the preview's Reload Page button after saving. Your new words and font should remain.
Common questions
Why did the words change but the font stay the same?
Text editing changes the HTML content. Use the separate Choose the font and size or Change the font in CSS steps to change its appearance. In Community, save styles.css as well as index.html.
Why does my CSS font change have no effect?
Check that you changed the h1 rule, saved styles.css, and still have <link rel="stylesheet" href="styles.css"> in the HTML's <head>. An inline style on the heading can override the stylesheet. If you previously followed the Pro steps, start with a fresh practice copy before following the Community steps.
How do I change just one heading on my own website?
In Pro, select that heading and keep Save changes to → Inline. In Community, give the heading a class, such as <h1 class="page-title">Your heading</h1>, then use .page-title instead of h1 as the CSS selector. That rule applies to elements with that class.