Quick Start Project
This section provides an overview of how to create and manage projects using the Start Project Dialog in Phoenix Code.
Start Project Dialog
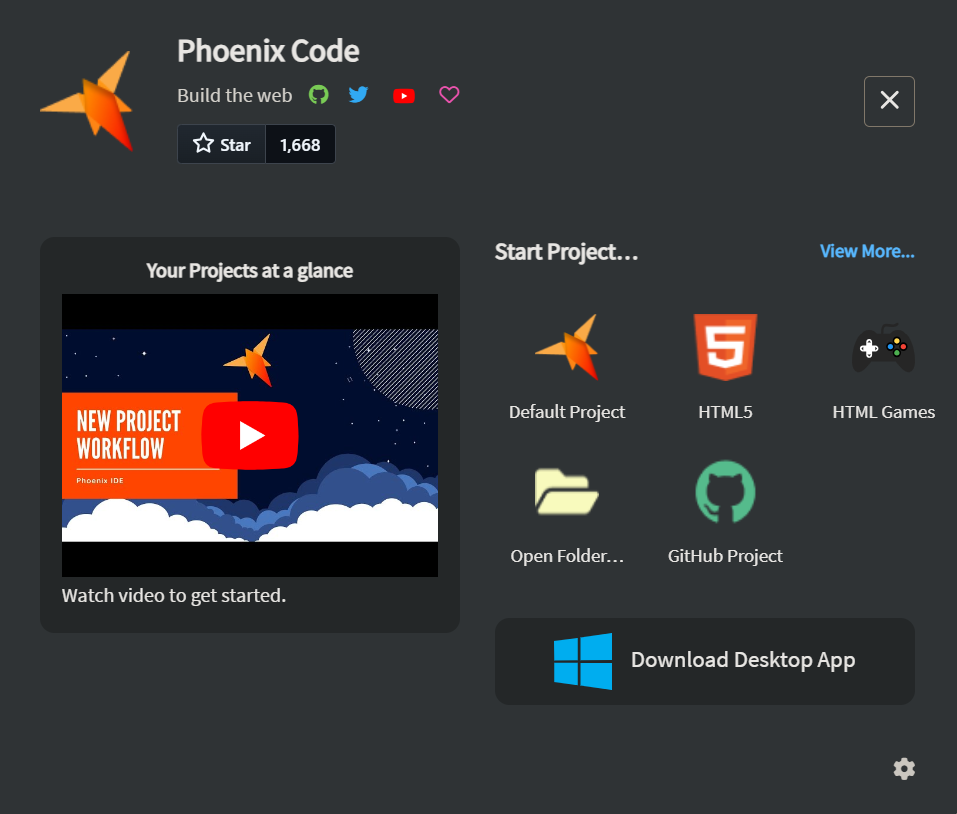
When you open the Phoenix Code desktop app or browser app, you are greeted with the Start Project Dialog box. This serves as a quick access hub, allowing you to create new projects, resume recent ones, import from GitHub and many more.

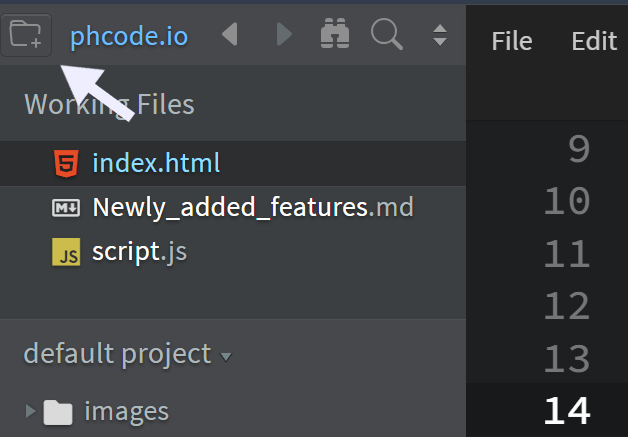
You can reopen the Start Project Dialog box anytime by clicking here.

Additionally, if you prefer that the Start Project Dialog doesn't appear every time you open Phoenix Code, follow these steps:
- Click the
folder iconin the top left corner to open the Start Project Dialog, or alternatively you can restart Phoenix Code to have it appear automatically. - In the bottom right corner of the dialog, click the
settings icon. - Toggle off the
Show This Dialog on Startupoption.
Default Project
The Start Project Dialog includes an option for creating a Default Project. When selected, a project will be generated with some files to provide a simple starting point for testing and using the Phoenix Code editor.
Open Folder
You can open a folder from your desktop in Phoenix Code by following these steps:
- Click the
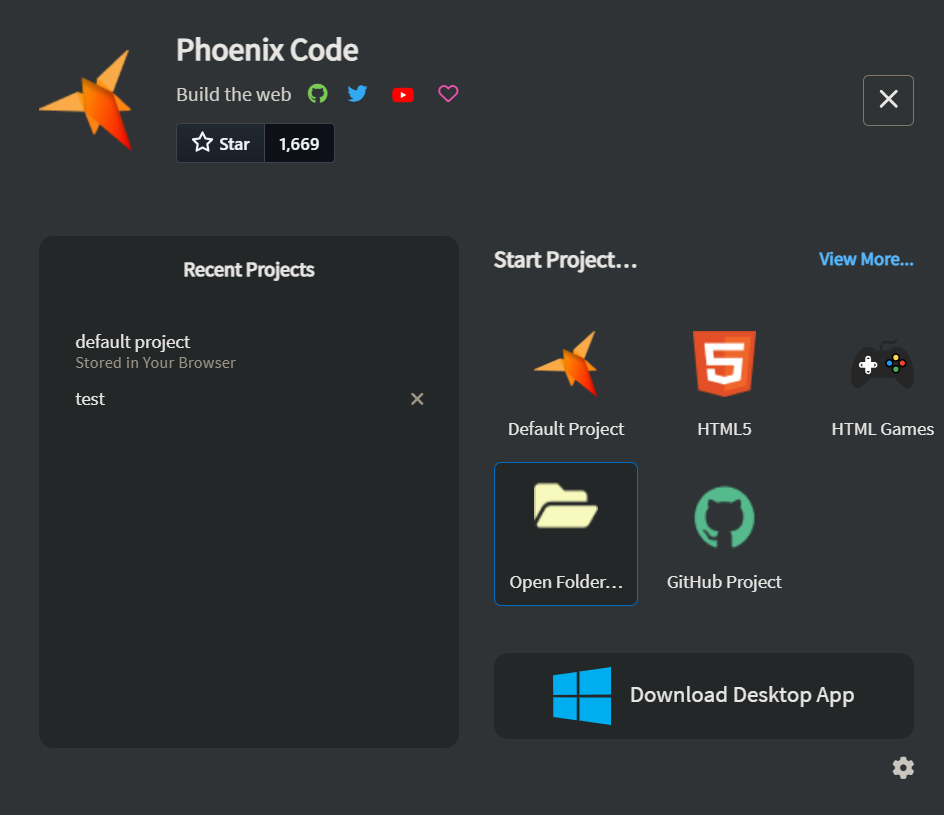
Open Folderbutton in the Start Project Dialog. - Navigate to and select your desired project folder.
- Once selected, Phoenix Code will load all the files, allowing you to start working immediately.
The Open Folder feature is not supported in Firefox browser due to local folder access restrictions. Please use Chrome, Edge, or Opera for working with local folders.

Create a HTML Project
You can create a new HTML project that includes essential files by following these steps:
- Open the
Start Project Dialogbox. - Click the
HTML5button. This will open a new page for folder selection. - Provide a name to the project and choose your desired folder and click
Create Project.
Once completed, a basic project structure will be generated in the selected folder.
Create a project from Github
This feature is only available in the browser app currently. Coming soon to desktop apps.
You can create a project from GitHub and easily import it to your local machine. Follow these steps:
- Open the
Start Project Dialogbox. - Click on the
GitHub Projectbutton. - Enter the URL of the GitHub repository you want to work on.
- Specify the folder location where you want to copy the repository files.
- Click
Create Project.
After the project is created, you’ll have all the necessary files on your local machine, ready for development.
Recent Projects
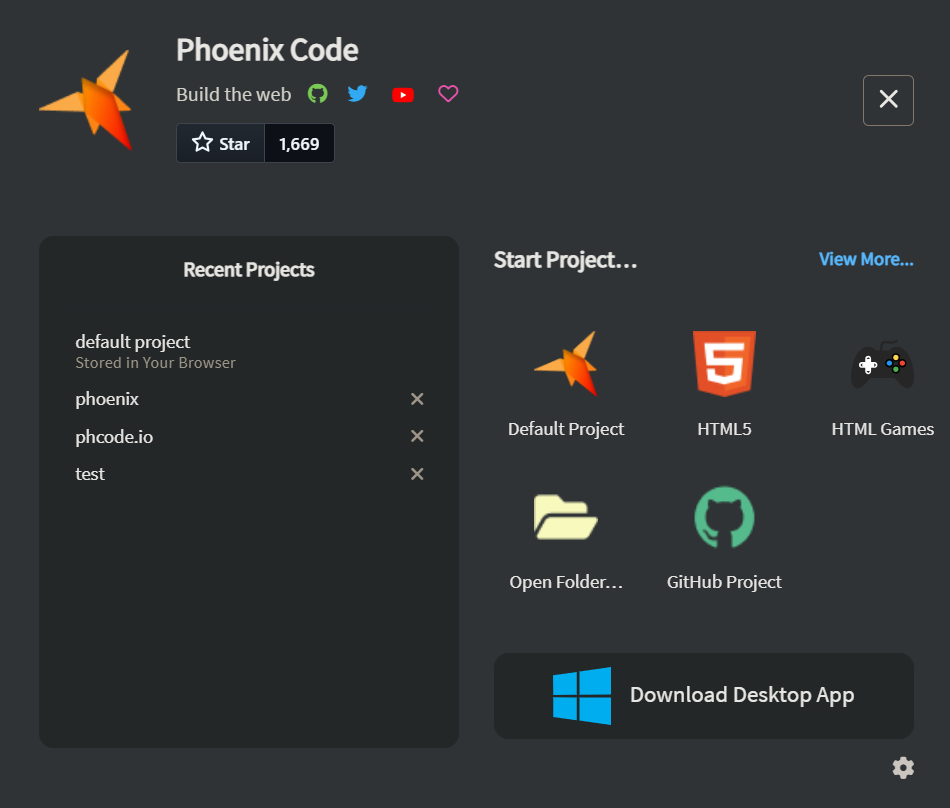
In the Start Project Dialog, the Recent Projects section displays a list of all the projects you've recently worked on.
To remove a project from the Recent Projects list, click the cross button next to the project name.

If no recent projects are available, a YouTube video explaining the Start Project dialog options will be displayed instead.

View More Option
In the Start Project Dialog, the View More button provides access to a selection of pre-made HTML page templates, such as a home page, blog page, and HTML dashboard.
To use these templates:
- Click the
View Morebutton. - A new page will appear, allowing you to select the folder where you want to create the project.
- Click
Create Projectto generate the chosen template.