Themes
Phoenix Code provides various themes to customize your coding environment. Switching themes is straightforward and quick.
Installing a new theme
- Click the extension manager button on the right panel.
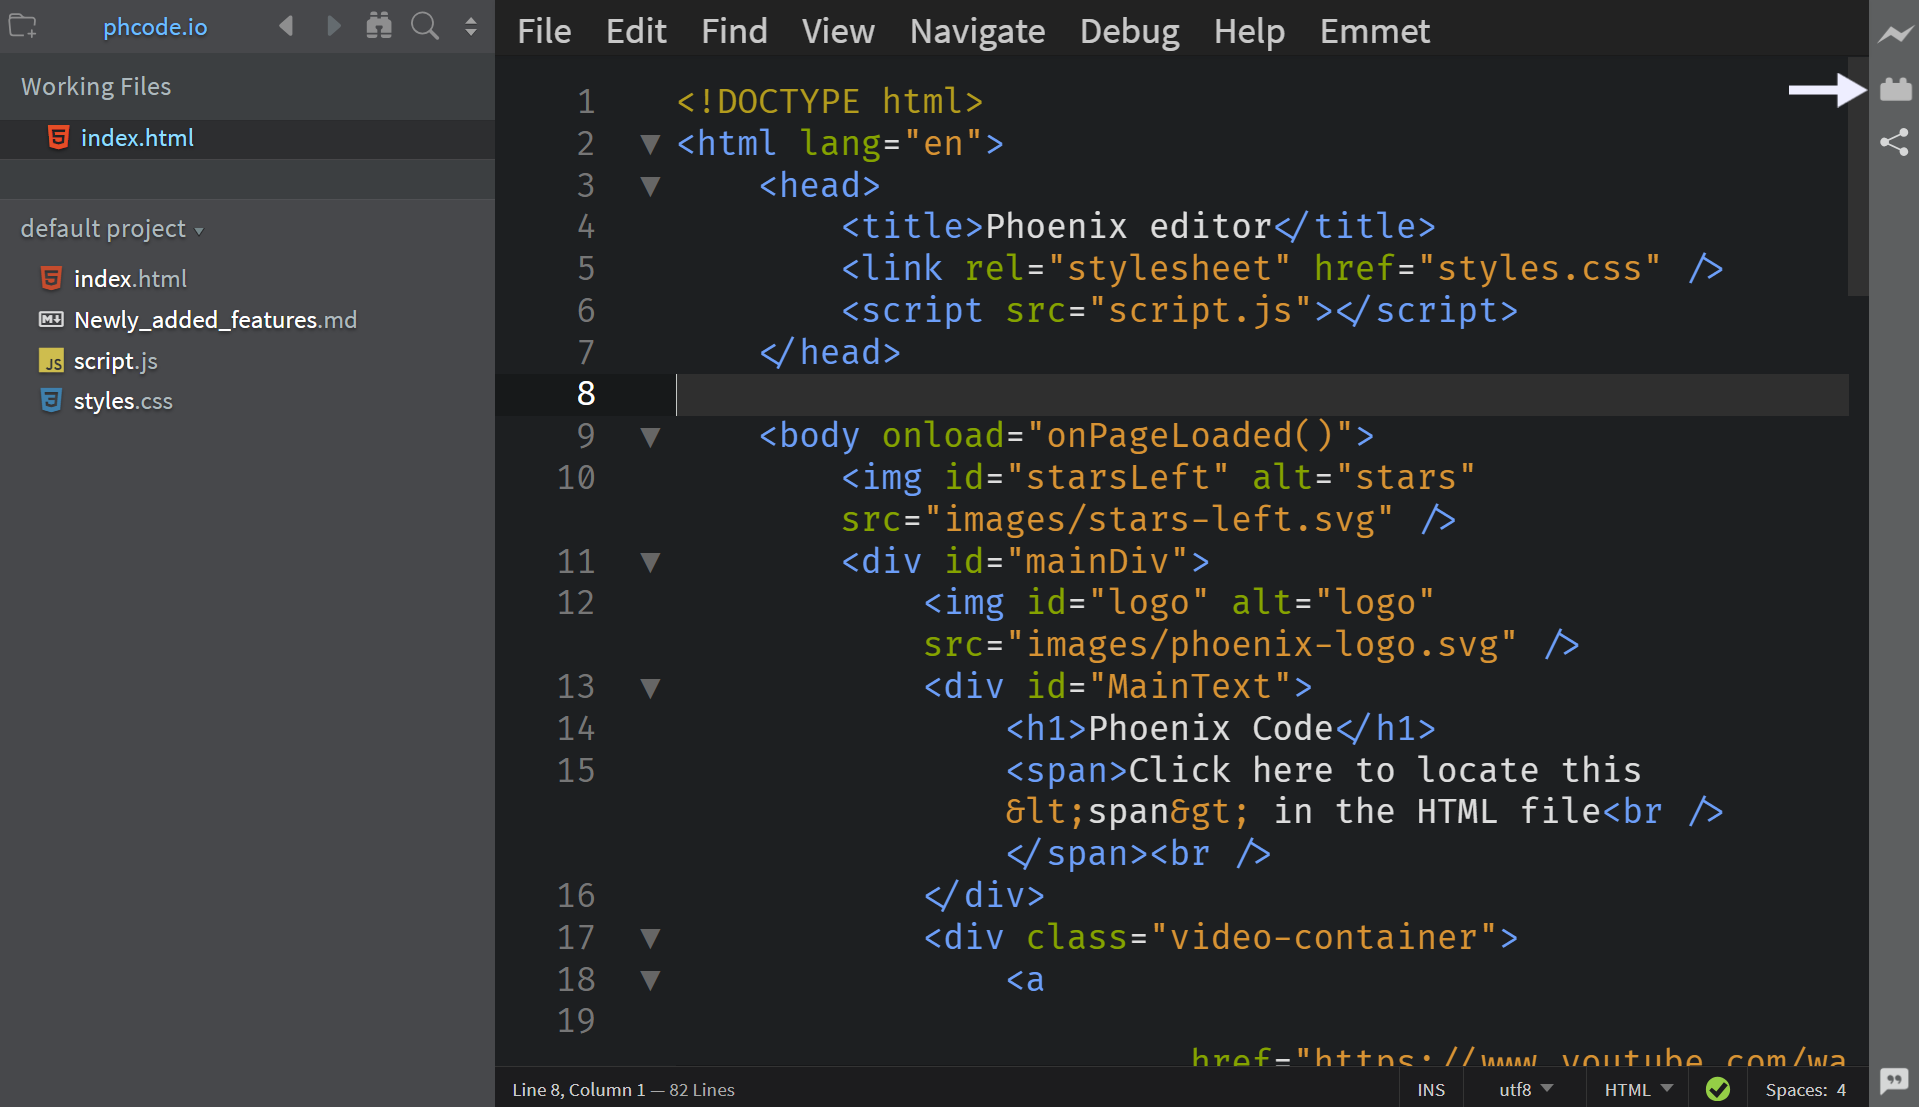
- In the modal window, go to the Themes tab.
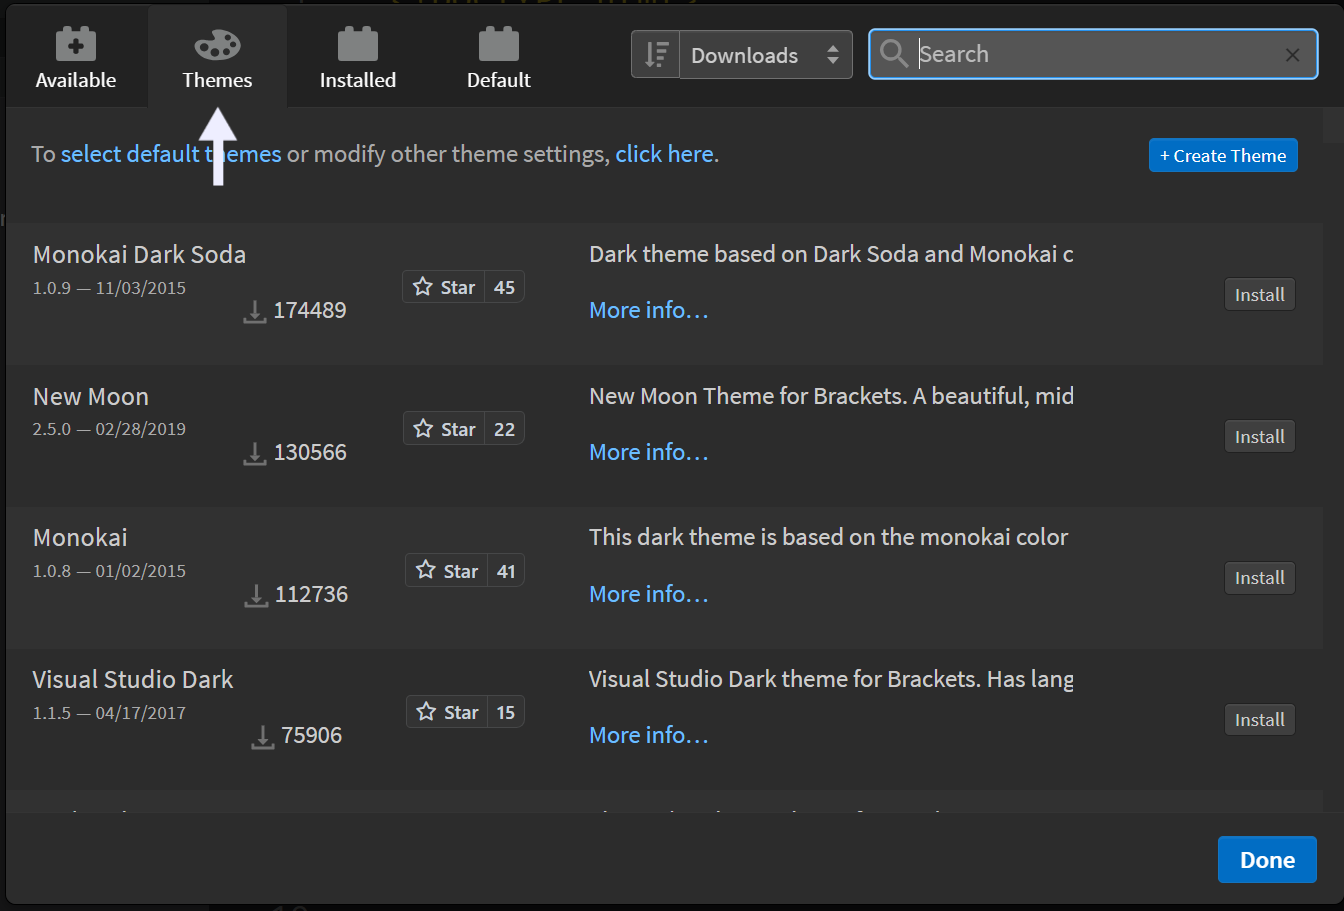
- Browse the available themes. Choose one and click Install.
- Confirm the installation in the popup window by clicking 'Close.'

Your new theme is now installed.
Applying a theme
- Click the extension manager button on the right panel.
- In the modal window, go to the Installed tab.
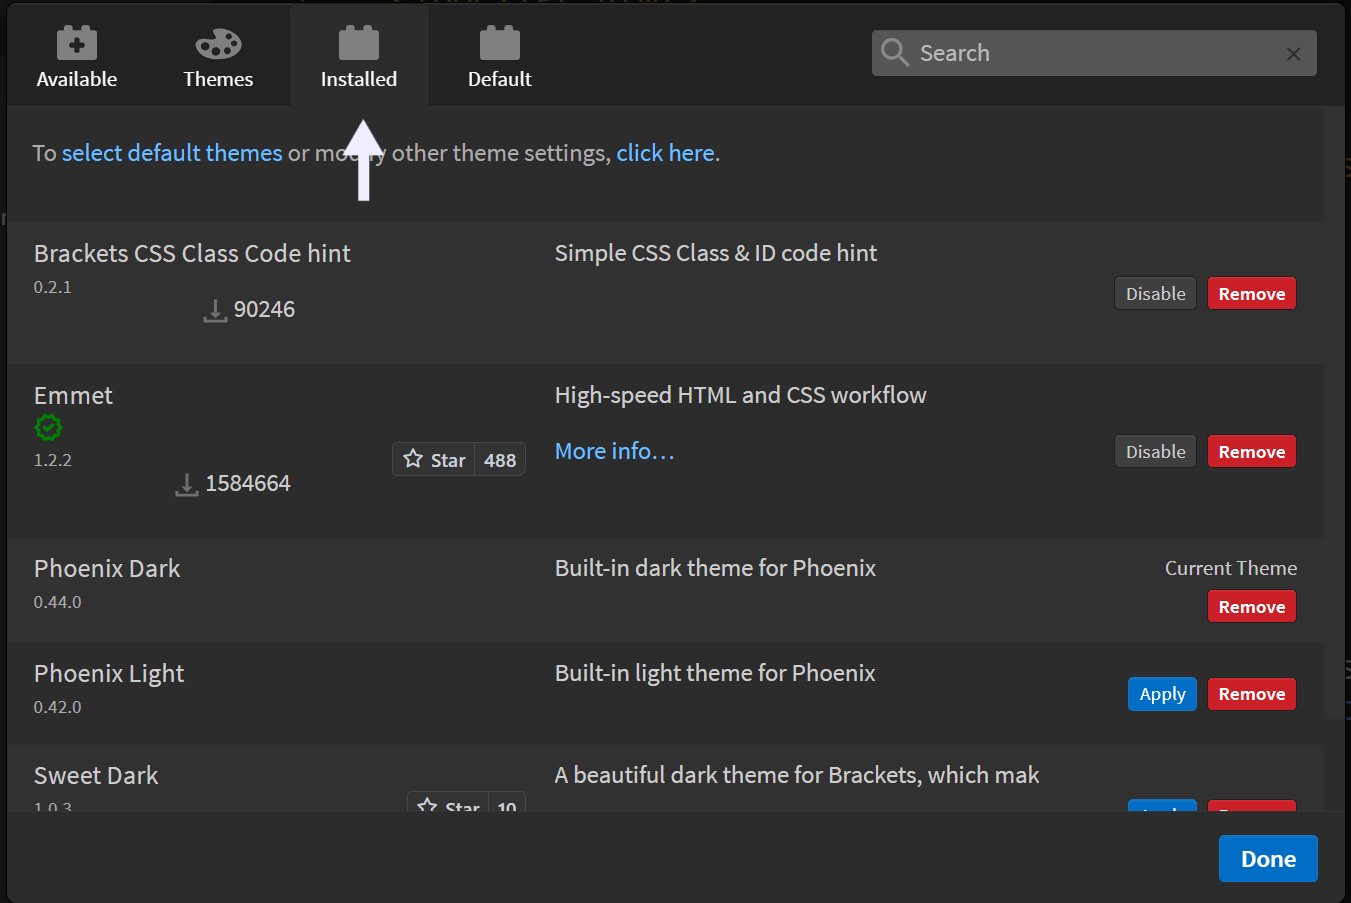
- Select the theme you want and click 'Apply.' Click 'Done' to finish.
The selected theme is now applied.
Removing a theme.
To remove a theme:
- Click the extension manager icon on the right panel.
- In the modal window, go to the Installed tab.
- Find the theme you want to remove and click 'Remove.'
- Confirm by clicking 'Remove Extensions and Reload' in the popup window.

The theme is now removed.
Creating your own theme.
If you want a custom theme, follow these steps:
- Click the extension manager icon on the right panel.
- In the modal window, go to the Themes tab.
- Click 'Create Theme' in the top right corner.
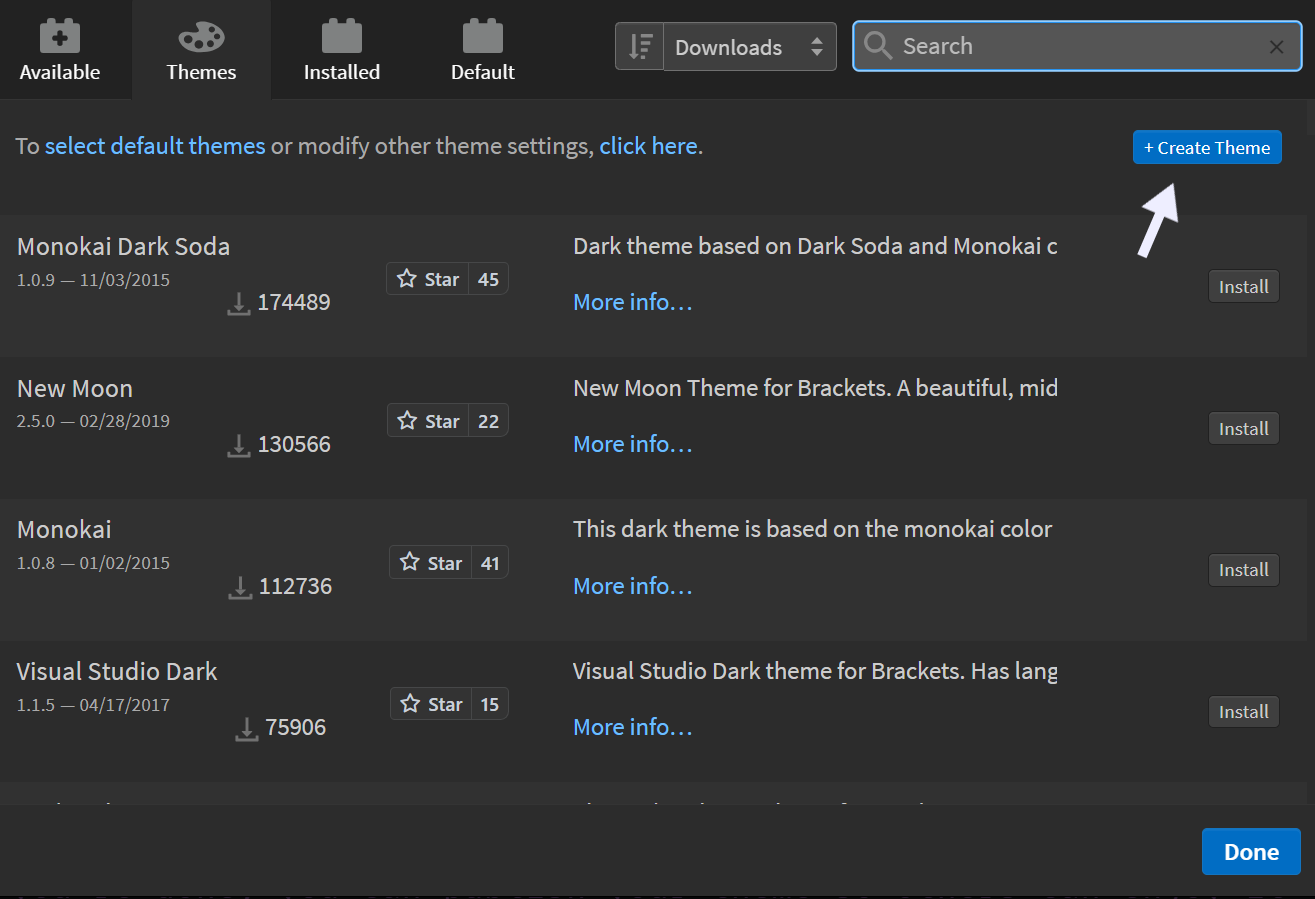
- You’ll be redirected to Phoenix Code’s official Theme Template repository.
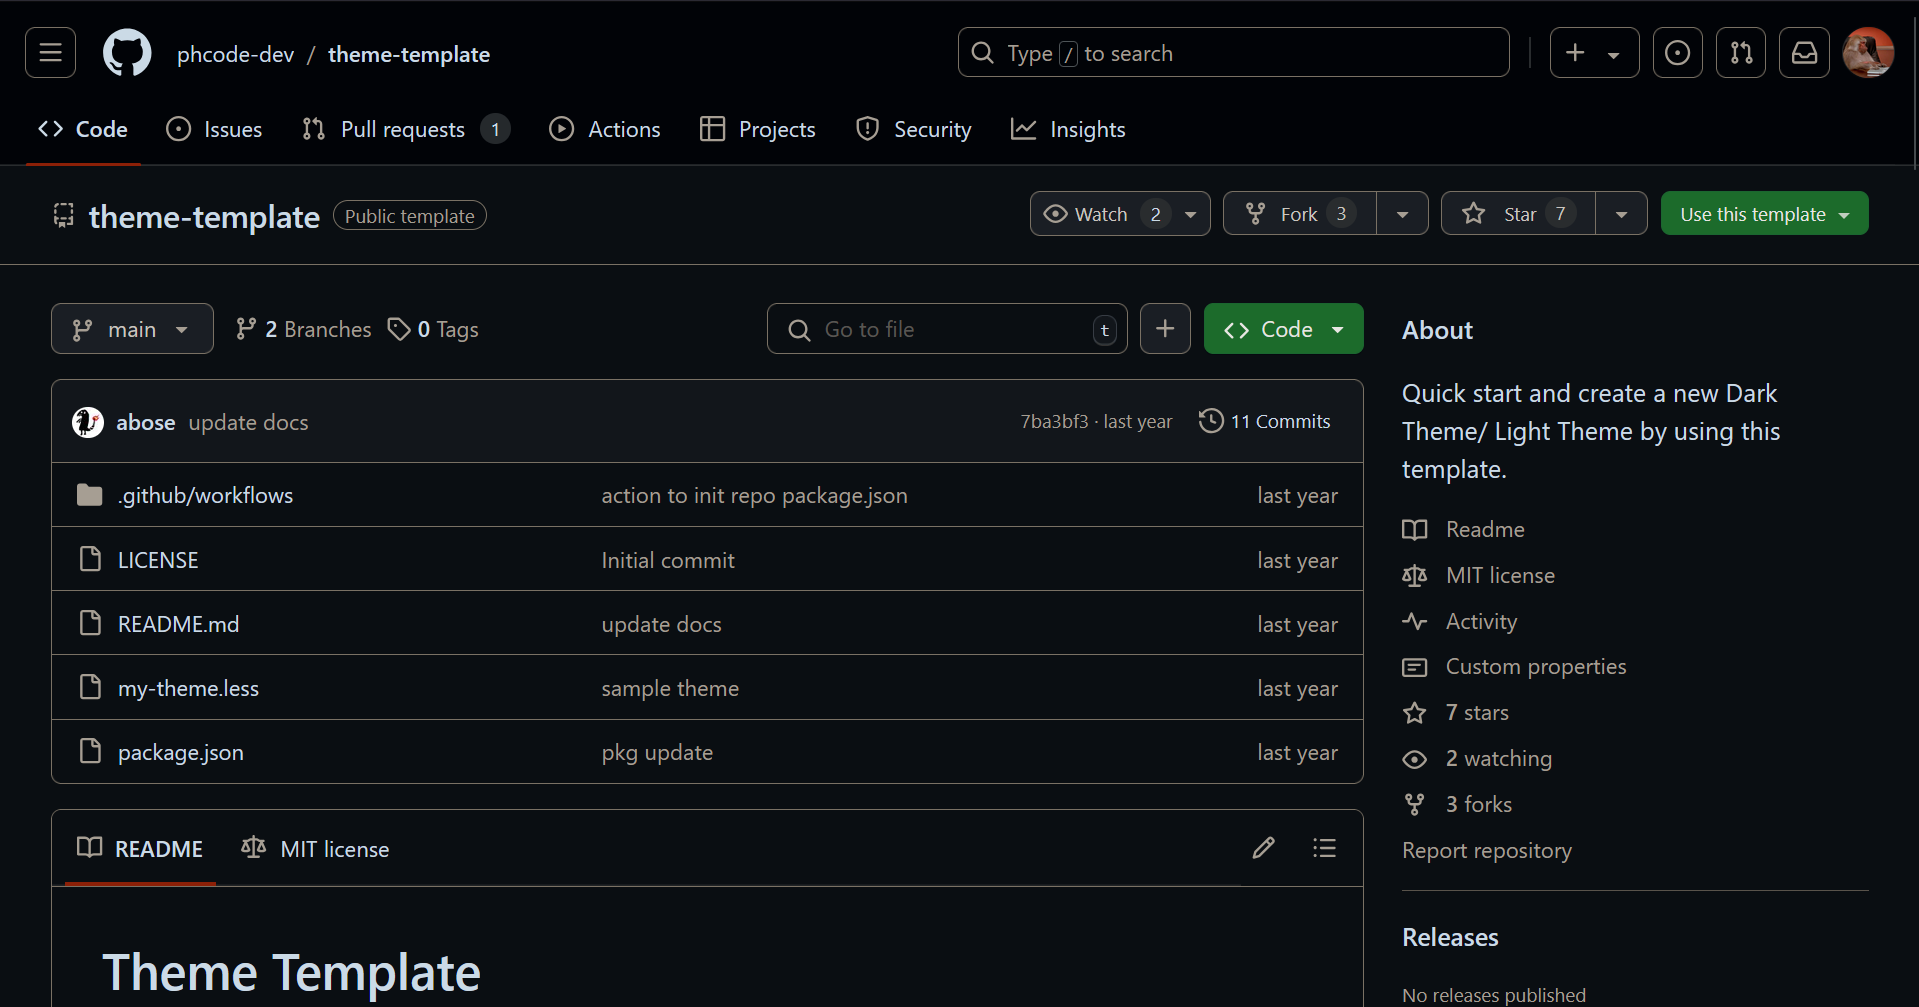
- Use the template to create your theme.
- Publish your theme to use it and share it with others.