How to create Panels
In Phoenix Code, Panels are of two types :- Plugin Panel and Bottom Panel.
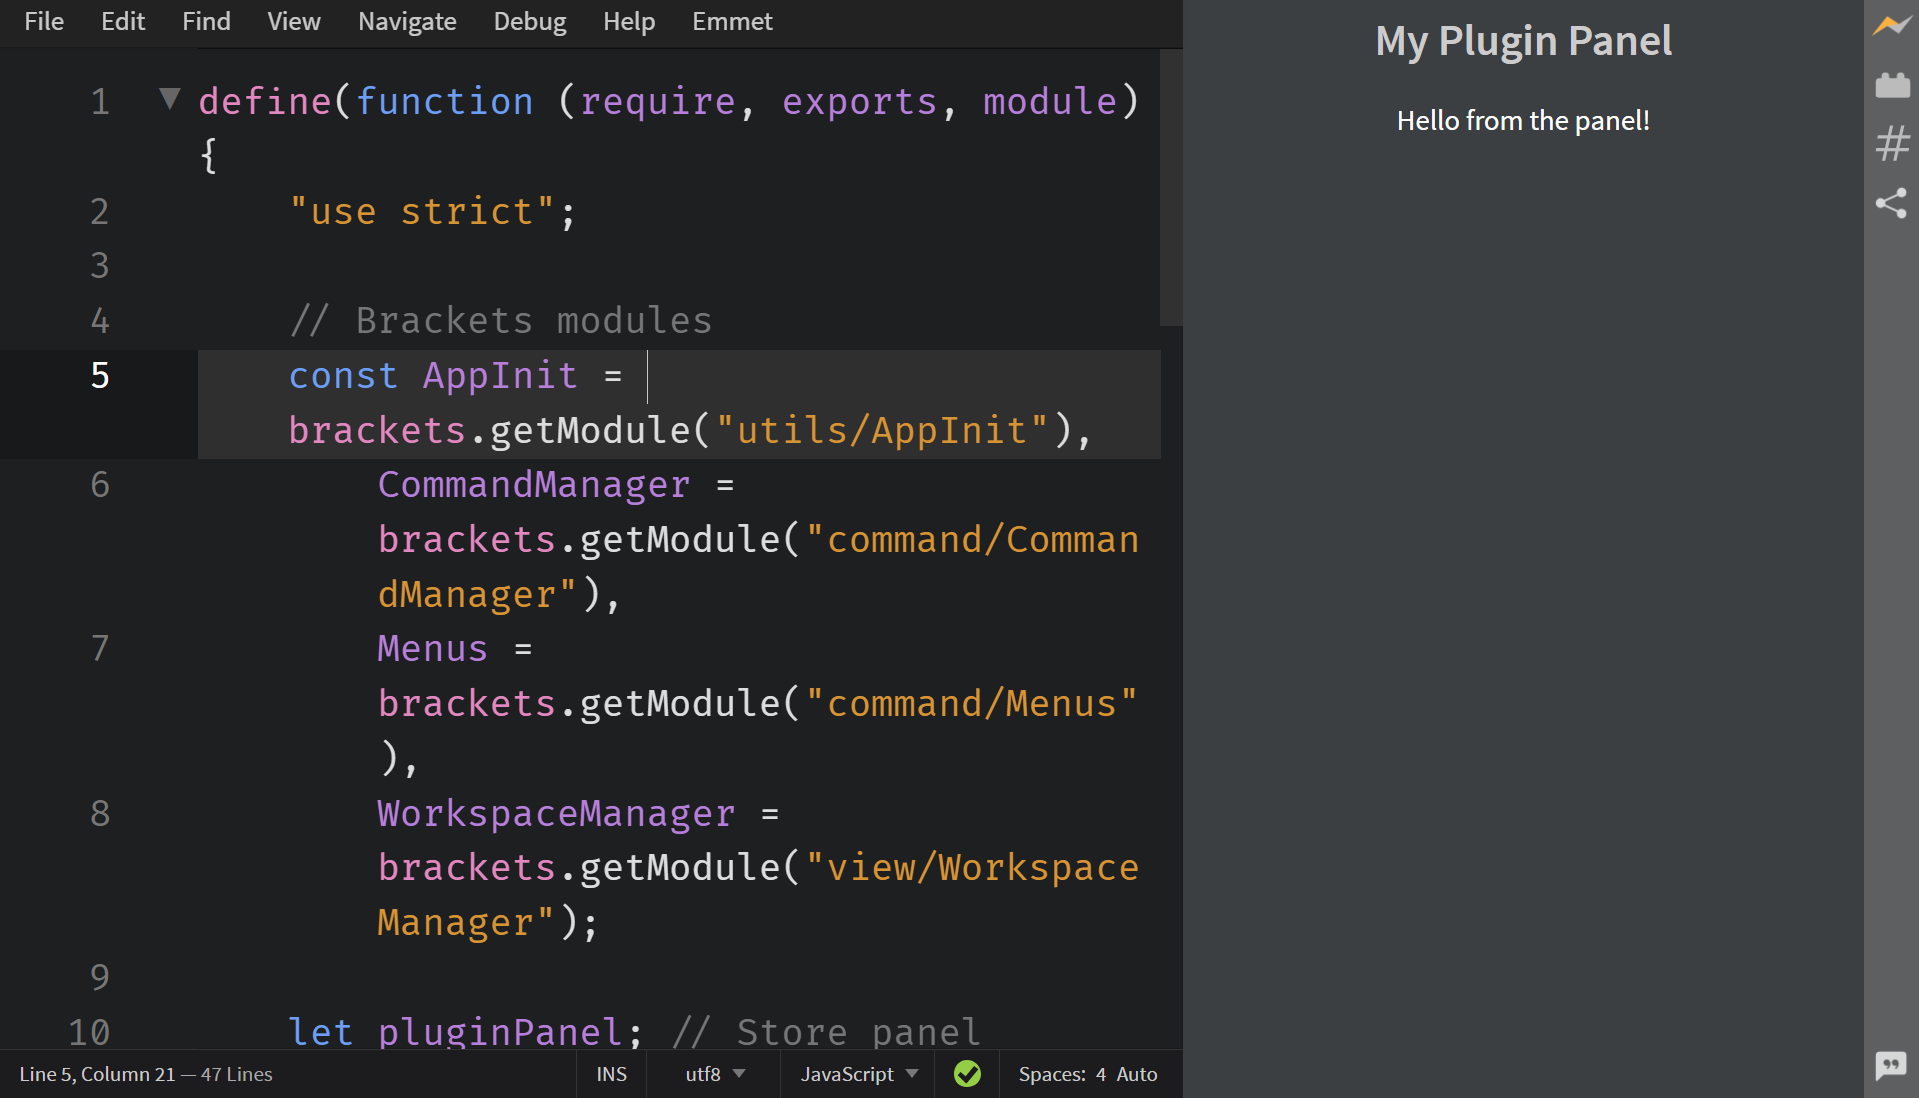
Plugin Panel appears on the side of the screen, generally the left side. For Example :- Live Preview feature uses the Plugin Panel.

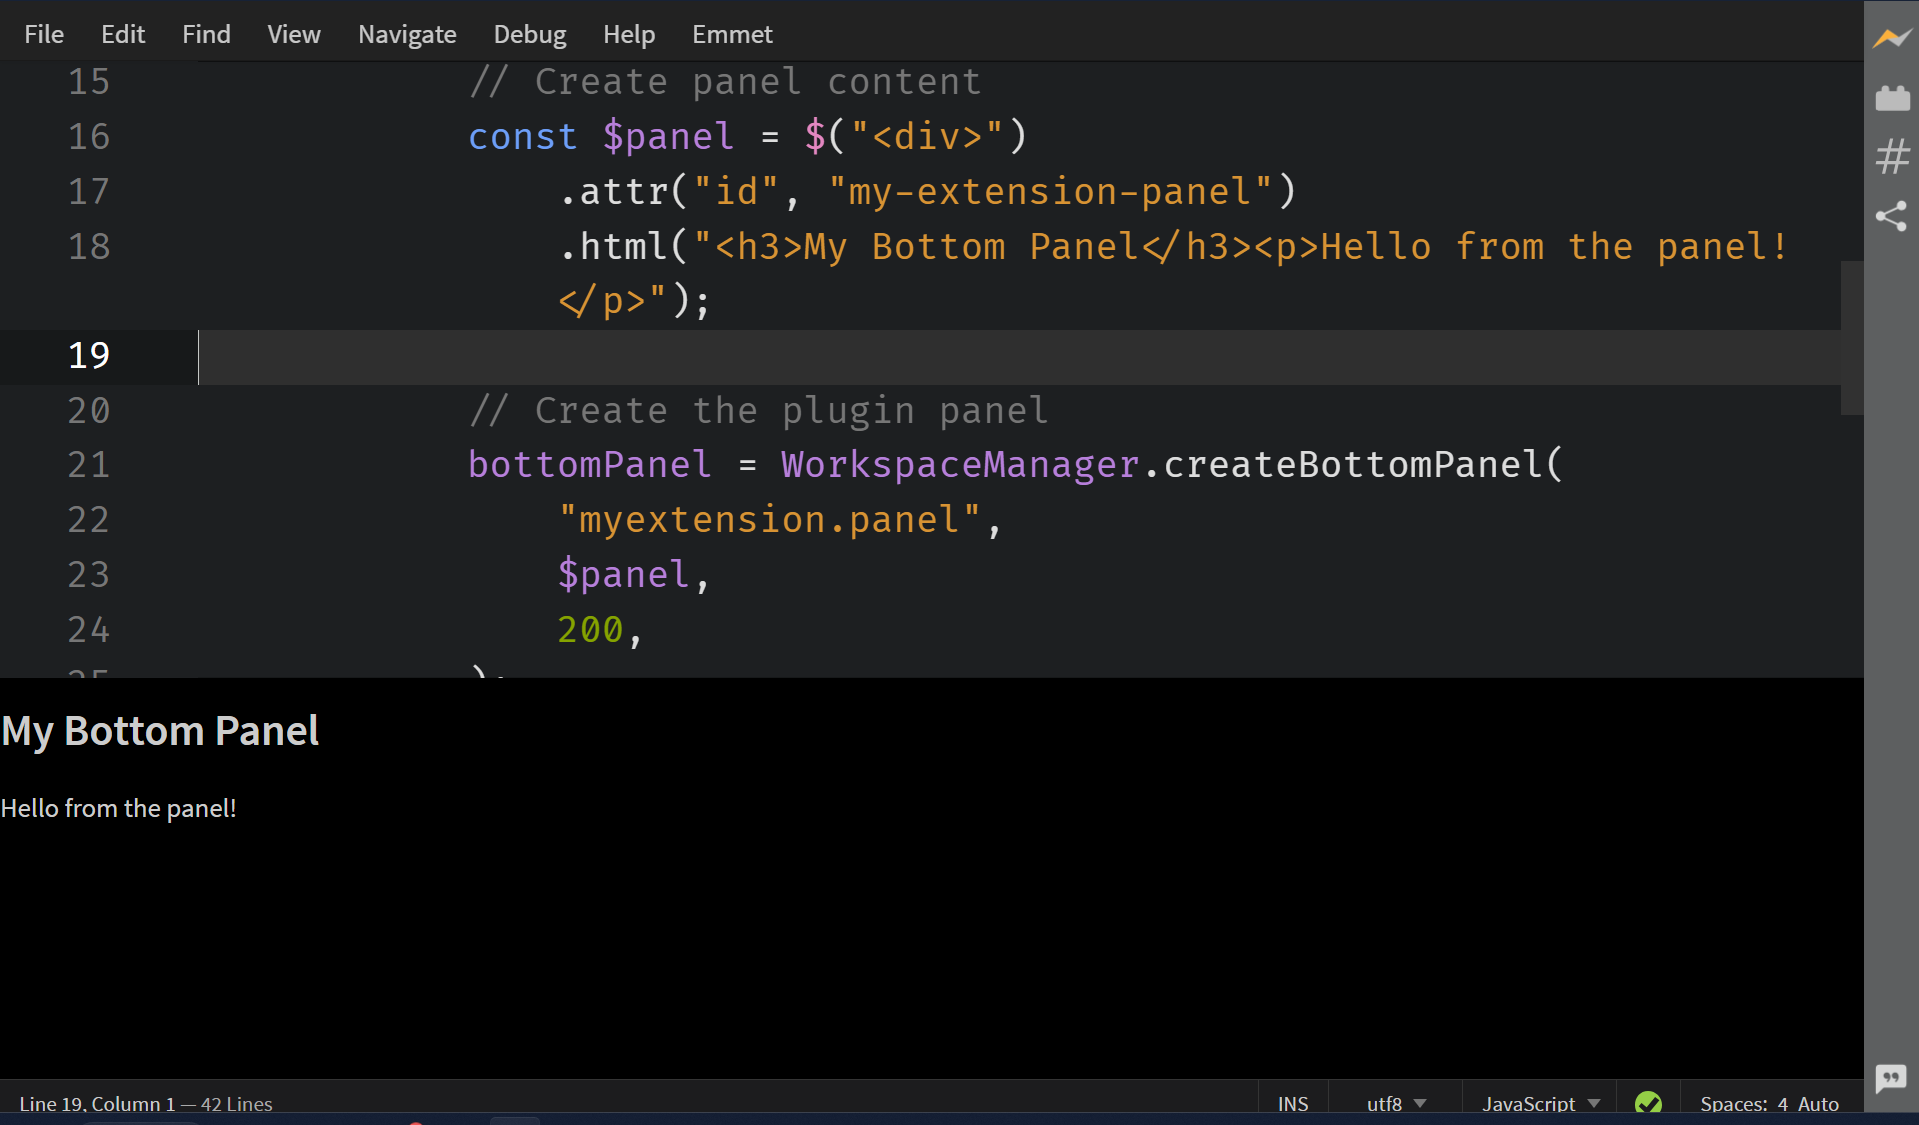
Bottom Panel appears on the bottom of the screen. For Example :- Problems feature uses the Bottom Panel.

This document outlines the basic features of working with Panels.
- How to create a Plugin Panel
- How to manage Plugin Panel state
- How to create a Bottom Panel
- How to manage Bottom Panel state
- Best Practices for Panels
Creating a Plugin Panel
To create a plugin panel, follow these steps:
-
Import the
WorkSpaceManagermodulesconst WorkspaceManager = brackets.getModule("view/WorkspaceManager"); -
Create panel content Create a jQuery object containing your panel's HTML content:
const $panel = $("<div>")
    .attr("id", "my-extension-panel")
.html("<h3>My Plugin Panel</h3><p>Hello from the panel!</p>"); -
Create toolbar icon Create a toolbar icon to toggle the panel.
Creating a toolbar icon is mandatory, else the panel won't show up.
-
Create the plugin panel Use
WorkspaceManager.createPluginPanel()to create your panel:const pluginPanel = WorkspaceManager.createPluginPanel(
"myextension.panel", // Unique ID using package-style naming
$panel, // jQuery object for panel content
200, // minSize in pixels
$toolbarIcon, // toolbar icon
400 // initialSize in pixels (optional)
);
For a detailed description, refer to this link.
Full Code Example:
define(function (require, exports, module) {
    "use strict";

    // Brackets modules
    const AppInit = brackets.getModule("utils/AppInit"),
        CommandManager = brackets.getModule("command/CommandManager"),
        Menus = brackets.getModule("command/Menus"),
        WorkspaceManager = brackets.getModule("view/WorkspaceManager");

    let pluginPanel; // Store panel reference

    // Function to run when the menu item is clicked
    function handleTestExtension() {
        if (!pluginPanel) {
            // Create panel content
            const $panel = $("<div>")
                .attr("id", "my-extension-panel")
                .html("<h3>My Plugin Panel</h3><p>Hello from the panel!</p>");

            // Create toolbar icon
            const $toolbarIcon = $("#panel");

            // Create the plugin panel
            pluginPanel = WorkspaceManager.createPluginPanel(
                "myextension.panel",
                $panel,
                200,
                $toolbarIcon,
                400
            );
            pluginPanel.show();
        }
    }

    // Register command
    const MY_COMMAND_ID = "test_menuitem";
    CommandManager.register("Toggle Panel", MY_COMMAND_ID, handleTestExtension);

    // Add Menu item
    const menu = Menus.getMenu(Menus.AppMenuBar.FILE_MENU);
    menu.addMenuItem(MY_COMMAND_ID);

    // Initialize extension
    AppInit.appReady(function () {
        console.log("Panel extension initialized");
    });
});
Visual Reference

Managing Plugin Panel State
You can control the visibility and state of your plugin panel:
-
Show/Hide Panel
// Show panel
pluginPanel.show();

// Hide panel
pluginPanel.hide(); -
Check Panel Visibility
const isVisible = pluginPanel.isVisible(); -
Toggle Panel Visibility
function togglePanel() {
    if (pluginPanel.isVisible()) {
        pluginPanel.hide();
    } else {
        pluginPanel.show();
    }
}
Creating a Bottom Panel
Bottom panels are created similarly to plugin panels but use different methods:
For
Bottom Panelscreating a toolbar icon is not required.
-
Import required modules
const WorkspaceManager = brackets.getModule("view/WorkspaceManager"); -
Create the bottom panel
const bottomPanel = WorkspaceManager.createBottomPanel(
    "myextension.panel",
    $panel,
    200,
);
For a detailed description, refer to this link.
Full Code Example for Bottom Panel:
    define(function (require, exports, module) {
        "use strict";

        // Brackets modules
        const AppInit = brackets.getModule("utils/AppInit"),
            CommandManager = brackets.getModule("command/CommandManager"),
            Menus = brackets.getModule("command/Menus"),
            WorkspaceManager = brackets.getModule("view/WorkspaceManager");

        let bottomPanel; // Store panel reference

        // Function to run when the menu item is clicked
        function handleTestExtension() {
            if (!bottomPanel) {
                // Create panel content
                const $panel = $("<div>")
                    .attr("id", "my-extension-panel")
                    .html("<h3>My Bottom Panel</h3><p>Hello from the panel!</p>");

                // Create the plugin panel
                bottomPanel = WorkspaceManager.createBottomPanel(
                    "myextension.panel",
                    $panel,
                    200,
                );
                bottomPanel.show();
            }
        }

        // Register command
        const MY_COMMAND_ID = "test_menuitem";
        CommandManager.register("Toggle Panel", MY_COMMAND_ID, handleTestExtension);

        // Add Menu item
        const menu = Menus.getMenu(Menus.AppMenuBar.FILE_MENU);
        menu.addMenuItem(MY_COMMAND_ID);

        // Initialize extension
        AppInit.appReady(function () {
            console.log("Panel extension initialized");
        });
    });
Visual Reference

Managing Bottom Panel State
Bottom panels support similar state management to plugin panels:
-
Show/Hide Panel
// Show panel
bottomPanel.show();

// Hide panel
bottomPanel.hide(); -
Check Panel Visibility
const isVisible = bottomPanel.isVisible(); -
Toggle Panel Visibility
function togglePanel() {
    if (bottomPanel.isVisible()) {
        bottomPanel.hide();
    } else {
        bottomPanel.show();
    }
}
Best Practices
-
Always use unique, package-style IDs (e.g., "yourextension.panel-name") to avoid conflicts with other extensions.
-
Save panel state (e.g., visibility, size) in preferences if needed, to restore state when the extension is reloaded.
Example CSS for Bottom Panel:
.bottom-panel {
    background-color: #f8f9fa;
    border-top: 1px solid #ddd;
}

.bottom-panel .toolbar {
    padding: 4px 8px;
    display: flex;
    justify-content: space-between;
    align-items: center;
    background-color: #e9ecef;
    border-bottom: 1px solid #ddd;
}

.bottom-panel .panel-content {
    padding: 8px;
    overflow-y: auto;
}
For more information about the WorkSpace Manager API, refer to the Phoenix Code API documentation.