Add an image in Phoenix Code
You can add your own photo to an HTML page in either edition of Phoenix Code:
- Phoenix Pro: select the picture in Live Preview, open Image Gallery, and choose Select from device. Phoenix Code copies the photo into your project and updates the page.
- Community (free): copy the photo into your project's
imagesfolder. Use Highlight Mode to find the picture's<img>tag, then replace itssrcfilename andaltdescription.
In this guide, you'll open a small practice website and replace its landscape illustration with your picture.
You'll need: a JPG or PNG picture on your computer, and Phoenix Code. Both Community (free) and Phoenix Pro work for this guide.
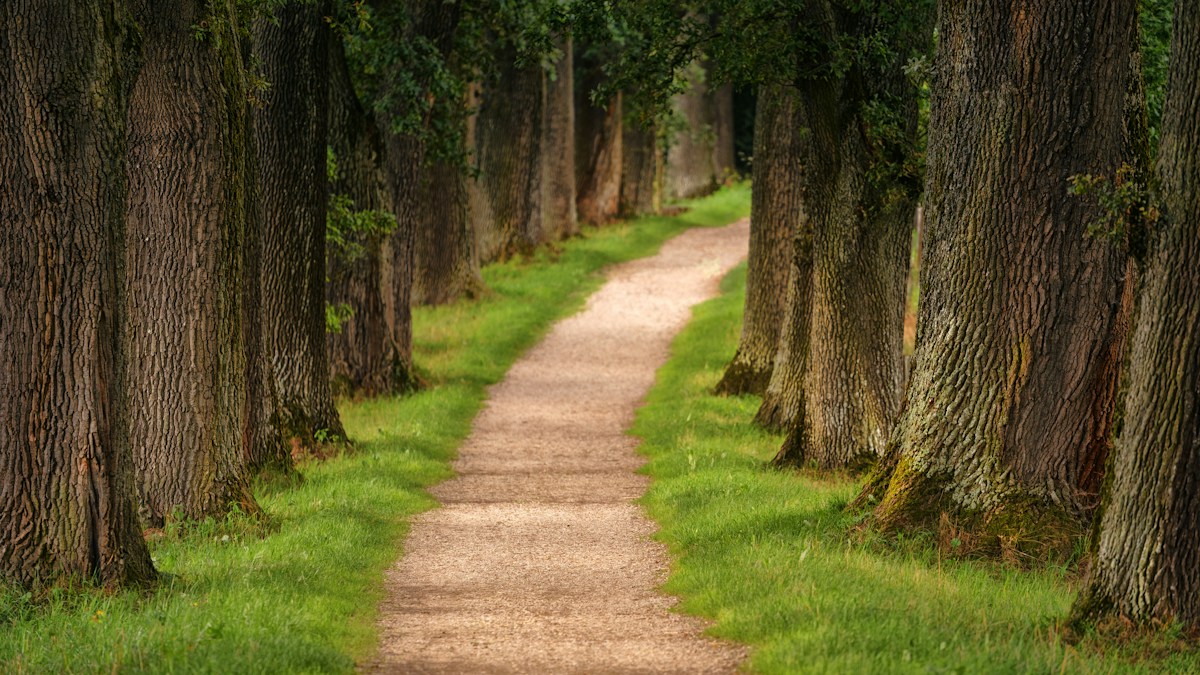
To follow the screenshots exactly, download the sample photo and save it as photo.jpg.
1. Open the practice website
- Download the practice website.
- Extract the ZIP. On Windows, right-click it and choose Extract All. On macOS, double-click it.
- In Phoenix Code, click Open Folder in the Start Project dialog.
- Select the extracted
first-websitefolder—the one containingindex.html.
You should see index.html, about.html, contact.html, styles.css, and an images folder in the file list on the left.
If you use Phoenix Code in a browser, use Chrome or Edge for this local-folder exercise. See Open Folder if you need help finding it.
2. Open the home page
- Click
index.htmlin the file list. - Click the lightning bolt on the right side of Phoenix Code to open Live Preview.
If Phoenix Code asks whether you trust this practice project, click Trust & Execute Preview to open it.
You should see the heading “A little time outside.” and a picture of green hills. That's the picture you'll replace.
Click any screenshot to view it full size. The videos below play silently when they come into view, with on-screen instructions. Use the video controls to pause or replay. If you prefer reduced motion, press Play to start.
3. Add your photo
Choose your edition below. In Phoenix Pro, choose a replacement picture directly from the preview. In Community (free), click the picture in the preview to find its HTML, then edit it.
- Phoenix Pro
- Community (free)
Watch the Pro steps
This recording uses first-website in Design Mode from start to finish. Your computer's file picker opens outside the recorded browser view.
Turn on visual editing
- Click the maximize icon in the Live Preview toolbar to enter Design Mode. This hides the code editor and gives the preview more room. If the editor is already hidden, you're ready for the next step.
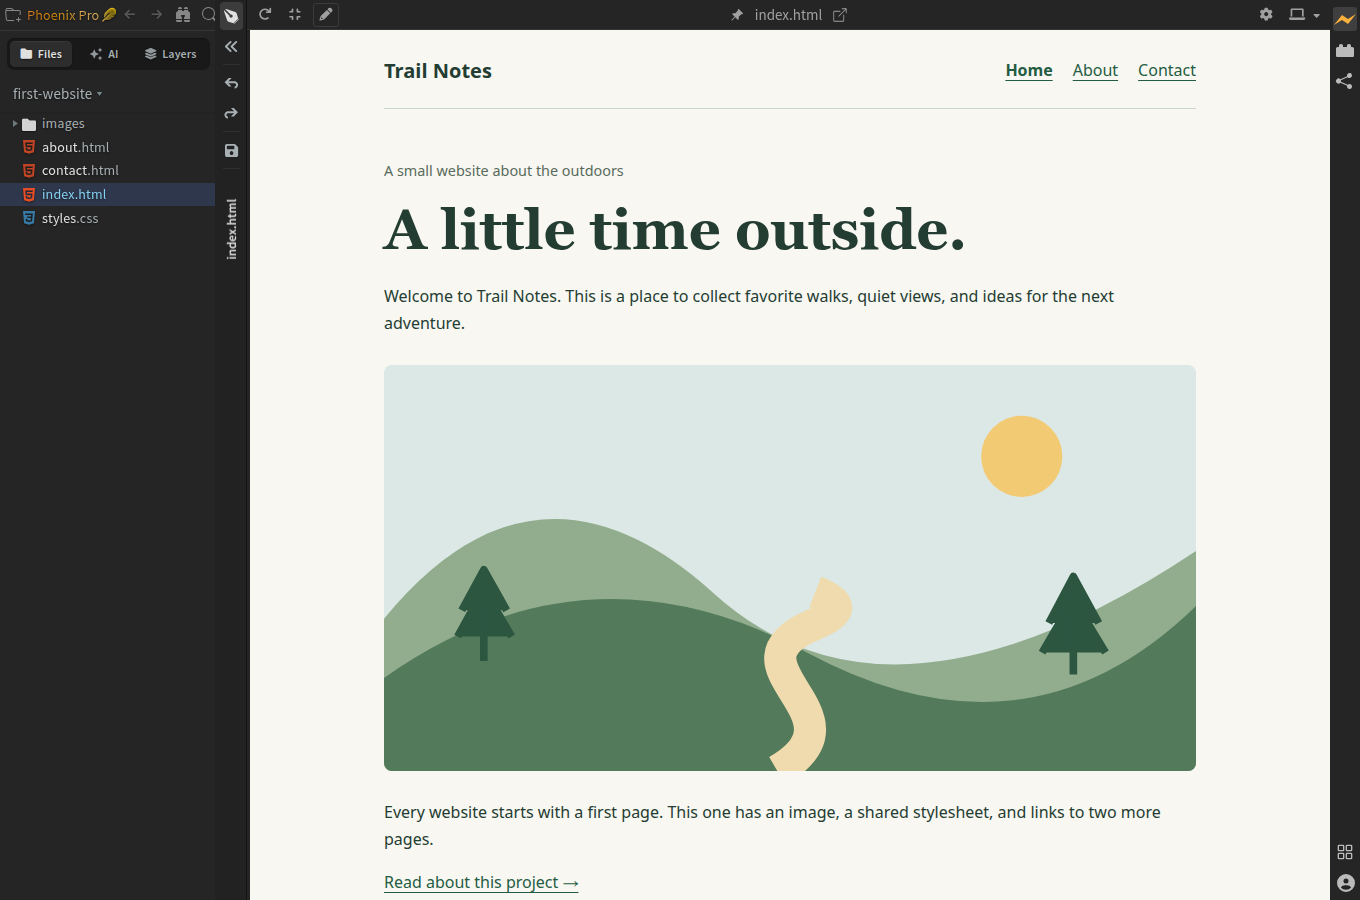
- Look at the pen button in the preview toolbar. If it is gray, click it to turn on Edit Mode. An orange pen confirms that visual editing is on.
Design Mode gives you a larger workspace. Edit Mode lets you change the page by clicking it.
Choose your picture
- Click the green-hills picture in the preview.
- Find the Image Gallery at the bottom of the preview. If it is closed, click the Image Gallery picture icon in the floating toolbar near the picture.
- Click Select from device.
- Choose your photo in the file picker and click Open.
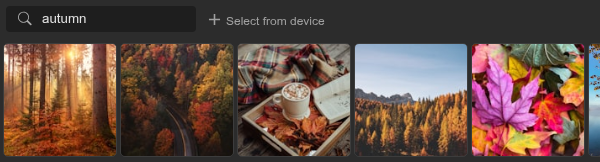
In a narrow preview, Select from device appears as a plus icon. Hover over it to see Select an image from your device, or enlarge the preview as described above.
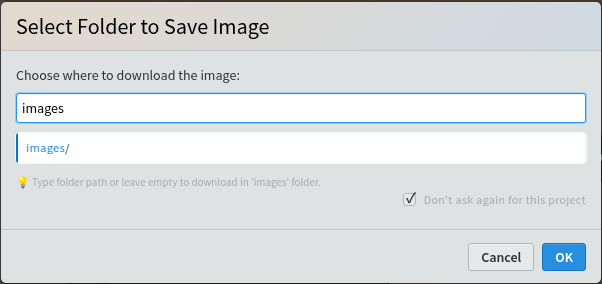
If Select Folder to Save Image appears, enter images and click OK. Phoenix Code copies the picture into your project and changes the page for you.
You should now see your own photo in the preview.
Add a description and save
- Click your photo again. If the Image Gallery is open, click the close button at its top-right corner to close it.
- In the floating toolbar, click the section showing
img. This opens Element Properties. - Scroll inside the panel to Attributes and find
alt. Click its value, press Ctrl+A on Windows/Linux or Cmd+A on macOS to select the old description, and type your own. For the sample photo, useSunlit forest path. - Press Enter to apply the description.
- Click the floppy-disk icon in the narrow toolbar between the file list and the preview. Hover over it to see Save File. You can stay in Design Mode while saving.
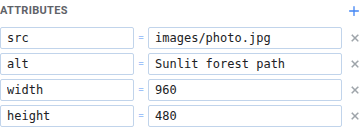
The description helps people using screen readers understand the picture.
For an image without an alt attribute, use the plus button beside Attributes to add one.
Copy your picture
- Open the extracted
first-websitefolder in your computer's file manager, such as File Explorer or Finder. - Open its
imagesfolder. - Copy your picture into that folder.
For the steps below, we'll use the name photo.jpg. If your file is named holiday.png, use holiday.png instead. Keep its actual file extension.
Watch the Community steps
This 31-second recording starts with photo.jpg already copied into the project's images folder.
Find the picture's HTML
Keep the code editor and Live Preview side by side. If the preview fills the app, click the restore icon in its toolbar to show the editor again.
- Return to
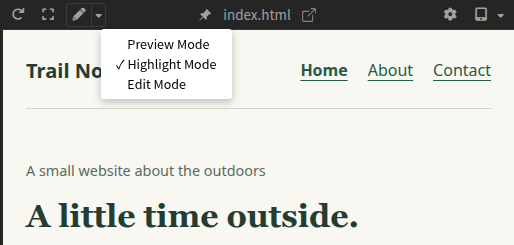
index.htmlin Phoenix Code. - In the Live Preview toolbar, click the small down arrow beside the pen and choose Highlight Mode.
- Click the green-hills picture in the preview inside Phoenix Code.
The editor moves to the picture's <img> tag. Highlight Mode is included in Community.
Replace the picture's HTML
Clicking the preview places the cursor at the tag. Select that tag before pasting so you replace the existing picture.
- In the code editor, drag to select the whole tag, from
<imgthrough its closing>.
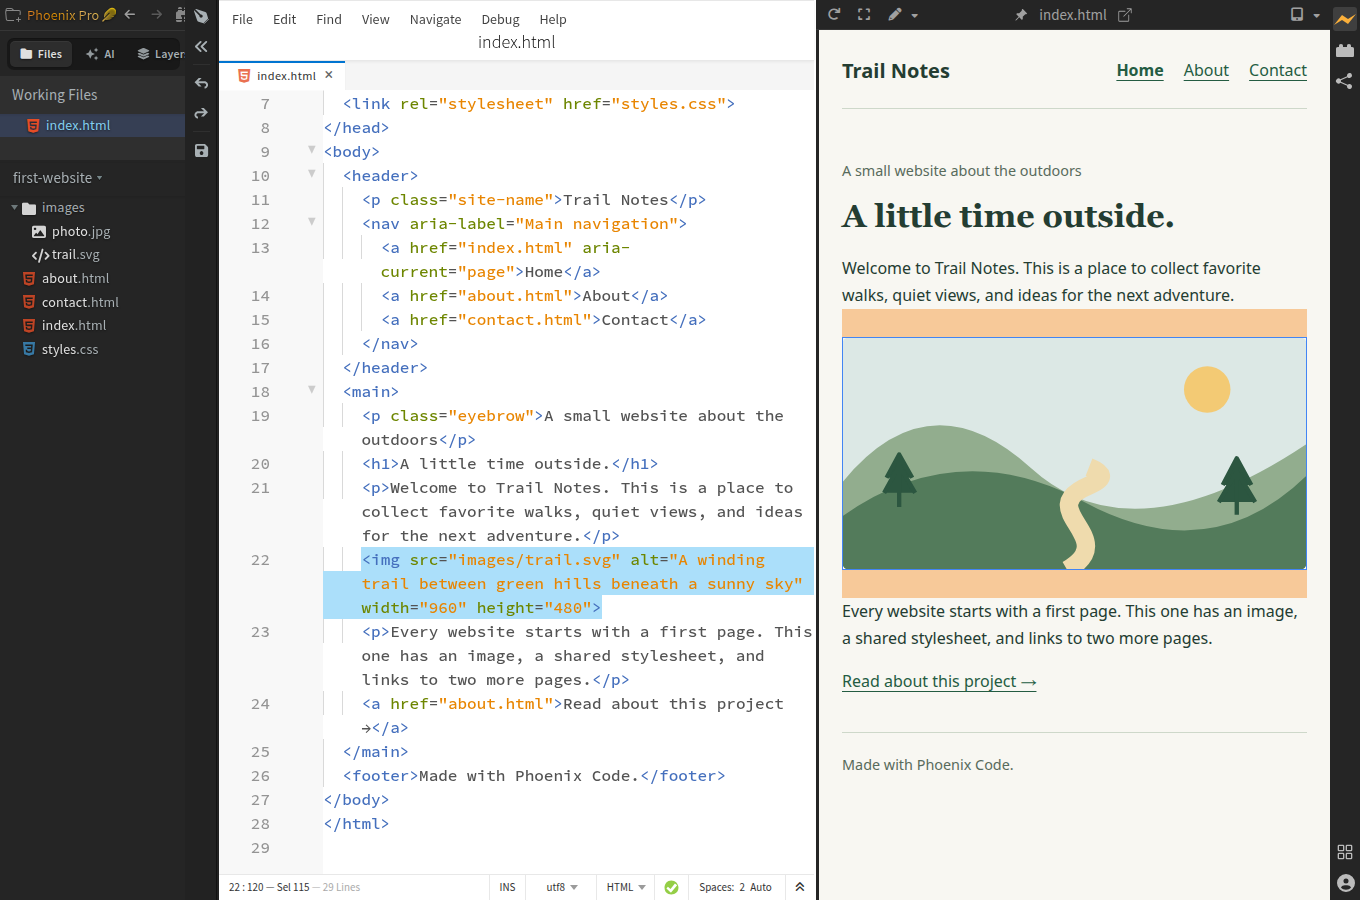
The blue selection in the editor shows the code to replace. It can wrap onto several screen lines and still be one <img> tag.
- Paste this in its place:
<img src="images/photo.jpg" alt="Describe your photo here">
- Change
photo.jpgto your picture's exact filename. - Replace
Describe your photo herewith a short description, such asMy dog playing in the park. - Save with Ctrl+S or Cmd+S.
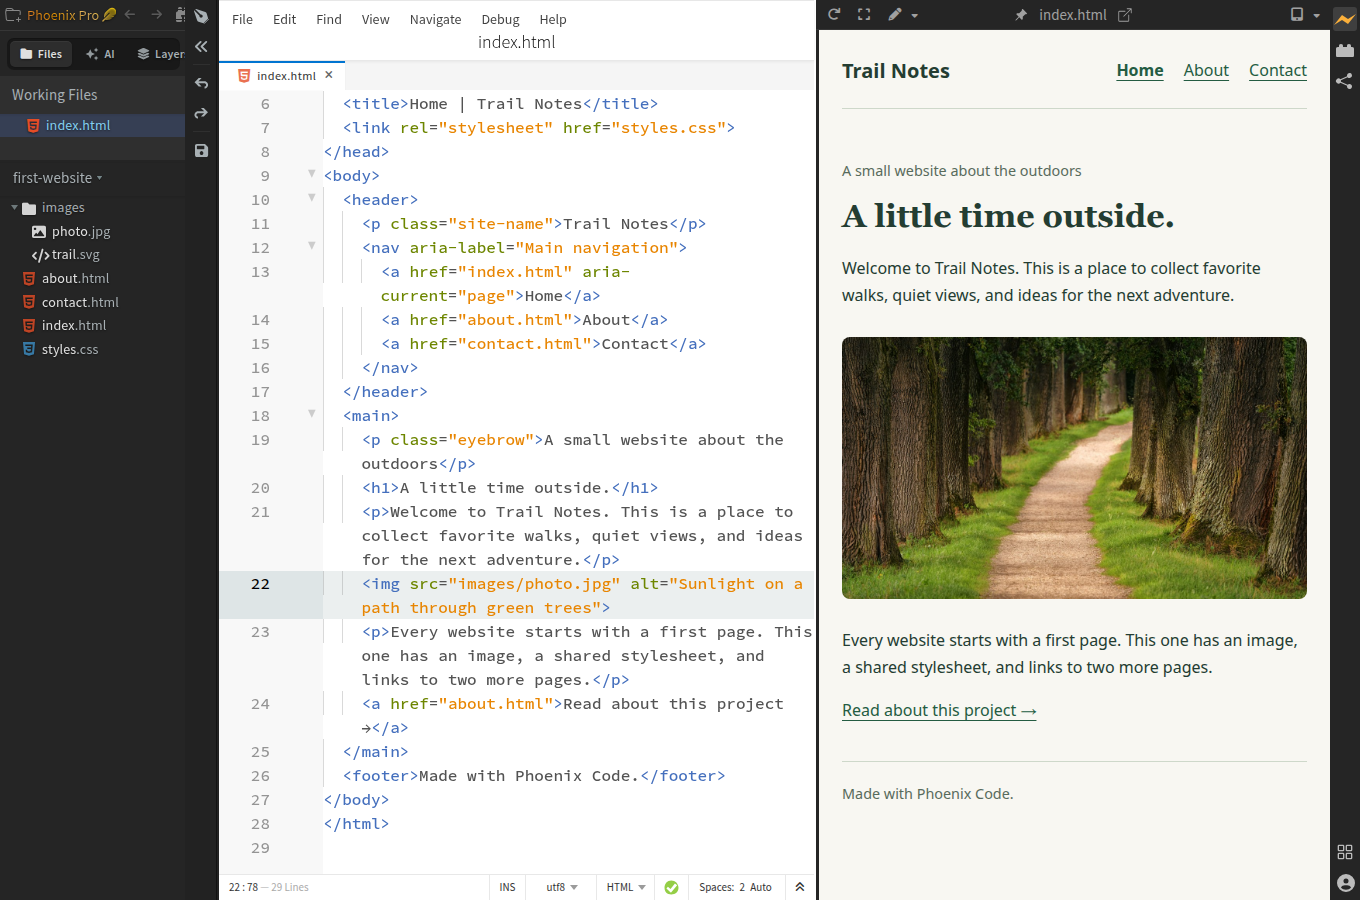
You should see your photo replace the hills in Live Preview. The practice website already makes pictures fit the page.
4. Check your page
Click Pop Out to New Window in the Live Preview toolbar. Your page opens in a separate browser window.
Check that your photo appears. Make the window narrower: the photo should shrink to fit and keep its proportions.
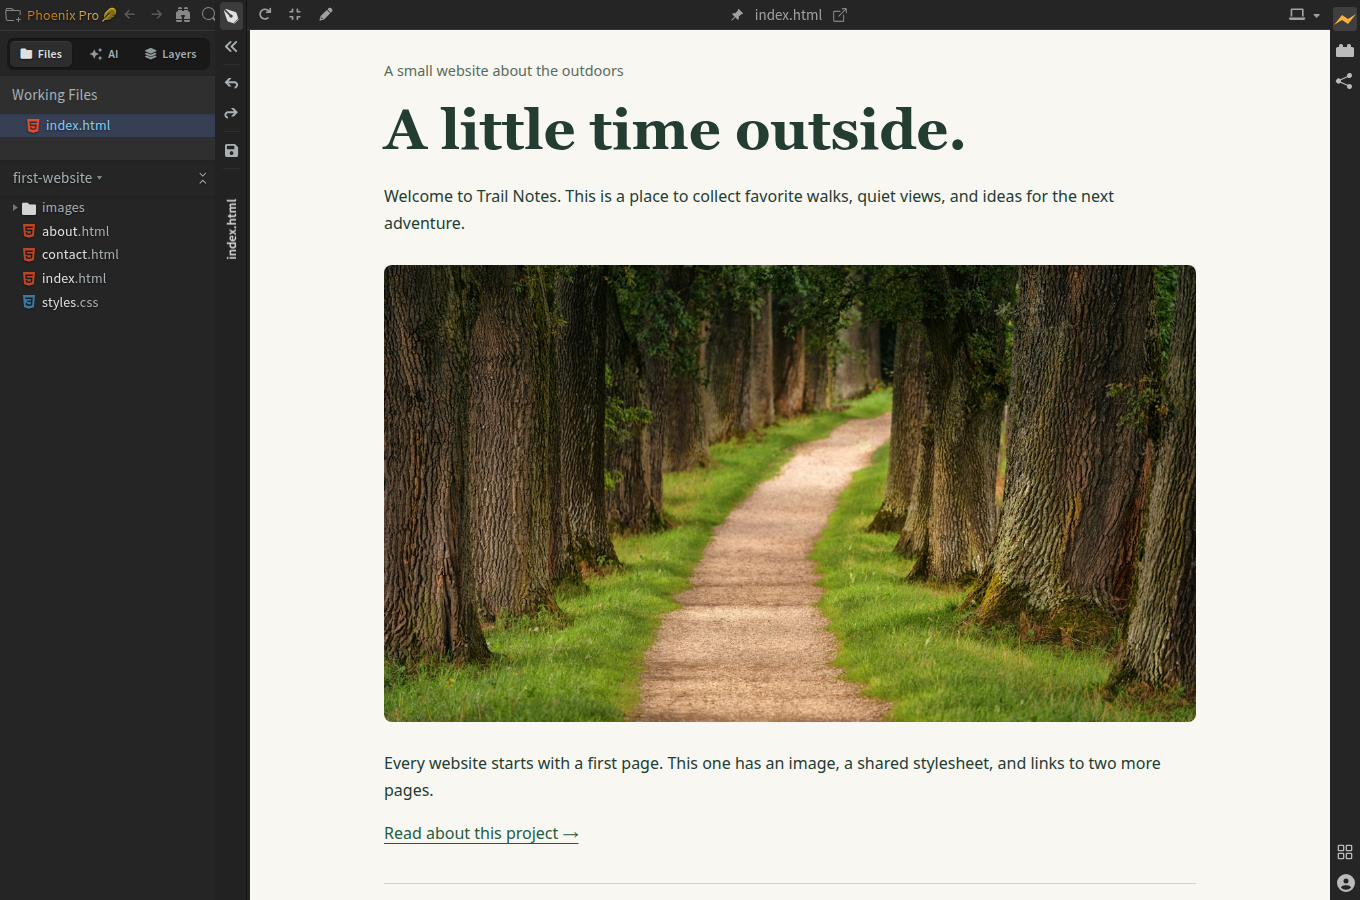
The finished page above is shown in Design Mode. To check it inside Phoenix Code, click the orange pen to turn visual editing off. It turns gray, and you can use the page as a visitor would.
You've added your own picture to a website. Next, make a link open another page.
Need help?
Can I add images with the free Community edition?
Yes. Community includes Highlight Mode, which lets you click a picture in Live Preview to find its HTML. Select the whole <img> tag, replace the filename and description, and save. Follow the Community steps above.
Why doesn't clicking the picture find its HTML?
Open index.html in the editor, choose Highlight Mode, and click the picture in the preview inside Phoenix Code. If the preview fills the whole app, click the restore icon in its toolbar to leave Design Mode and show the editor again.
You can also find this picture with Ctrl+F on Windows/Linux or Cmd+F on macOS. Search for trail.svg in the original practice page, or your photo's filename if you've already replaced it.
Why is my image missing or showing its description?
Check that your picture is inside first-website/images. Then compare its filename with the name after images/ in the HTML. The spelling, capital letters, and extension must match. photo.jpg and photo.jpeg are different filenames.
In Pro, select the picture and choose Image Gallery > Select from device again to set its file automatically.
How do I add another picture without replacing the first?
Community: use the preview to choose where the new picture goes:
- Copy the second picture into the project's
imagesfolder. - Keep
index.htmlopen. In Highlight Mode, click the paragraph beginning Every website starts with a first page below the existing picture. - In the code editor, find that paragraph's closing
</p>. Click immediately after its>, then press Enter to make a new line. - Paste this on the new line:
<img src="images/another-photo.jpg" alt="Describe your second photo here">
- Use your second picture's filename and description, then save. The new picture appears below the paragraph.
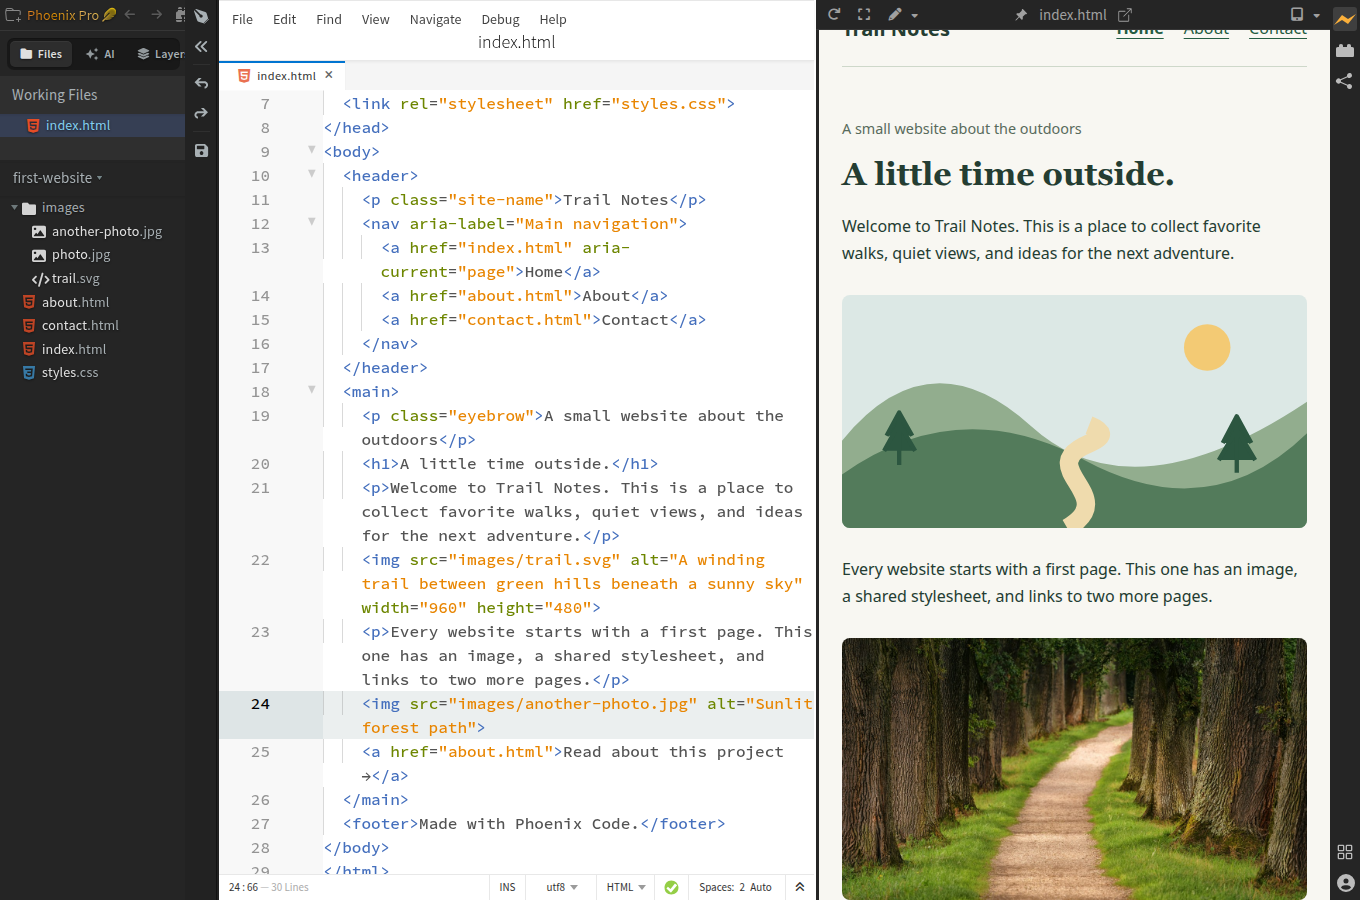
For your own page, follow the same pattern: click a nearby paragraph, find its closing </p>, and add the image after it, inside the page's <body>.
Pro: click an element near where you want the new picture. Click the plus icon in its floating toolbar, choose Before or After, then Image. Select the new picture and follow Choose your picture above. On an empty page, choose Image from the Starter Bar instead.
You can use these same steps in your own website project.
How do I make an image smaller?
Community: in the practice project's styles.css, find the rule beginning img { and add width: 480px; on a new line inside its braces. Save. This sets the preferred width of every picture in this practice site; the existing max-width and height rules keep them responsive.
Pro: select the picture in Edit Mode. In the Styles Bar, open Box Model > Size. Set Width to 480px, Height to auto, and Min / max > Max width to 100%. Save.
For online pictures and gallery downloads, see Image Gallery.
Sample photo: Johannes Plenio on Unsplash, used under the Unsplash License. Screenshots and recordings use Phoenix Code for the web; the Community steps use free features.